Managing TLS Certificates Using Ansible and Let’s Encrypt! PART 2.2:
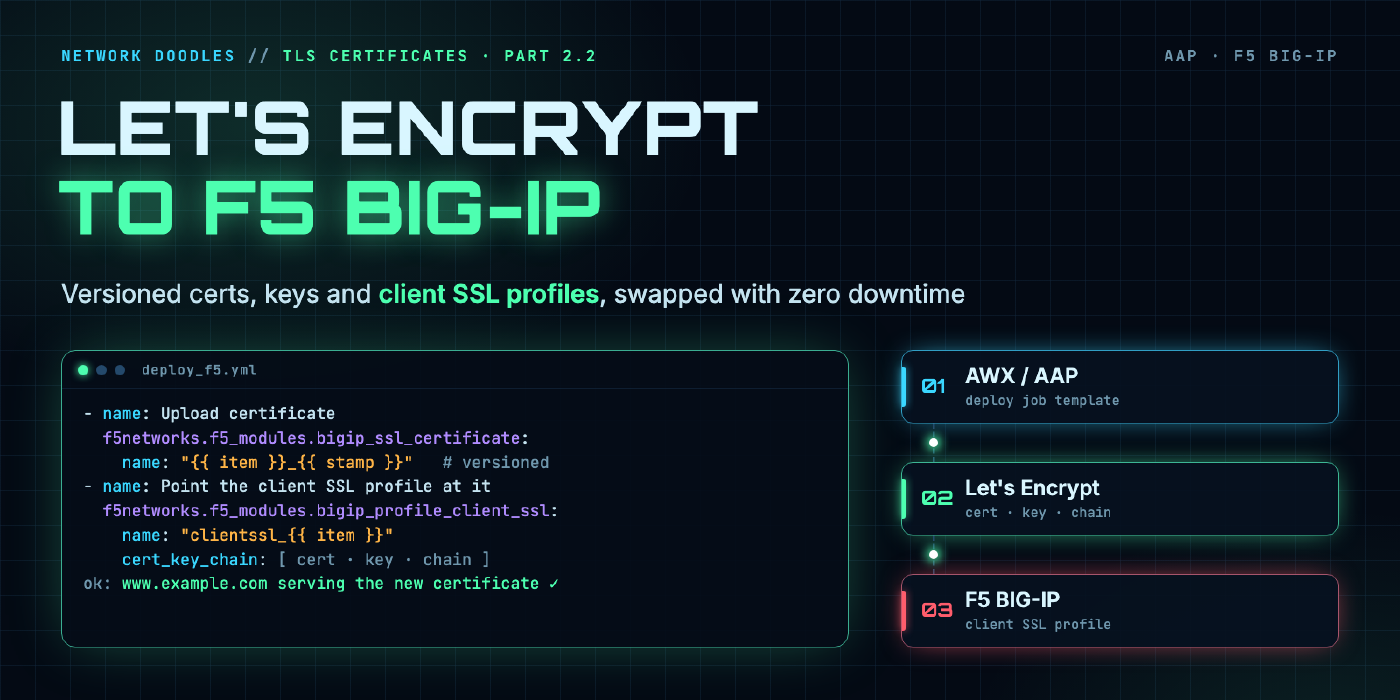
Deploy Let’s Encrypt certificates from your cert-store repo to F5 BIG-IP with Ansible and AWX/AAP: custom credentials, versioned cert and key objects, client SSL profiles, and a zero-downtime swap on renewal.
part 4 of 6 · series Let's Encrypt with Ansible
- 1Request a certificate with Ansible Core
- 2Run it from AWX / AAP with GitOps
- 2.1Deploy to Cisco ASA
- 2.2Deploy to F5 BIG-IP
- 3Scheduled auto-renewal workflows
- 4ServiceNow change and catalog integration
Introduction
Continuing from Part 2.1, where we pushed certificates to a Cisco ASA, this post does the same thing for F5 BIG-IP. The certificates still come from the cert-store repository we built in Part 2, and the playbook still runs from AWX/AAP. What’s new is a playbook that uploads the certificate, key and chain to the F5 and builds (or updates) a client SSL profile for each one.
- Creating projects and job templates in AWX/AAP
- Creating and using custom credential types
- Adding surveys to templates
- Creating the
cert-storerepository in Git
For all of that, see Part 2.
Prerequisites
- Everything from Part 2: AWX/AAP, the
cert-storerepo with at least one certificate in it, and the GitLab custom credential. - An F5 BIG-IP (LTM) reachable over HTTPS from your execution environment, and an account with rights to manage SSL objects and profiles.
- The
f5networks.f5_modulescollection.
1. Repository Setup
Use the same playbook repository pattern as the earlier parts. Add a collections/requirements.yml so AWX/AAP installs the F5 modules when it syncs the project:
# collections/requirements.yml
collections:
  - name: f5networks.f5_modules
  - name: community.crypto
Your repository should end up looking like this:
deploy-certs-f5/
├── collections/
│   └── requirements.yml
└── deploy_f5.yml
Keep the repository private, limit who can push to it, and use SSH keys or access tokens rather than passwords for Git access. The playbook itself has no secrets in it. Those all come from AWX/AAP credentials.
2. Custom Credentials
You already have the Gitlab Credentials type from Part 2. The only new one is for the F5.
- Go to Administration → Credential Types and click Add.
- Name:
F5 BIG-IP - Input configuration:
---
fields:
  - id: f5_username
    type: string
    label: Username
  - id: f5_password
    type: string
    label: Password
    secret: true
required:
  - f5_username
  - f5_password
- Injector configuration:
---
extra_vars:
  f5_username: '{{ f5_username }}'
  f5_password: '{{ f5_password }}'
Then go to Resources → Credentials and create a credential of type F5 BIG-IP with the account you’ll automate with. Please don’t use admin. Create a dedicated account with the Certificate Manager role plus rights to edit SSL profiles in the partition you’re working in.
3. Add the F5 to Your Inventory
If you followed Part 2.1, add the F5 to the same inventory as your ASA. I use NetBox as my source of truth to build that inventory (see How to Use NetBox as an Inventory in Ansible), but you can add the host by hand:
- Resources → Inventories, open the inventory from Part 2.1.
- Hosts → Add.
- Name:
f5-ltm-01 - Variables:
ansible_connection: local
ansible_host: 10.10.20.5
f5_server_port: 443
f5_partition: Common
- Optionally create a group called
loadbalancersand put the F5 in it. The playbook below targets that group.
ansible_connection: local matters. The F5 modules talk to the BIG-IP’s REST API from the execution environment. They don’t SSH into the box.
4. The Playbook
The playbook reads cert_list.txt from the cert-store repo, then for each certificate:
- Uploads the certificate, key and intermediate chain with a date stamp in the object name.
- Creates or updates a client SSL profile named after the certificate, pointing at the new objects.
Why versioned object names?
The obvious approach is to name the objects www.example.com.crt and overwrite them on every renewal. Don’t. The certificate and key are separate uploads, so for a few seconds the profile can reference a new certificate with the old key, and the F5 will refuse the handshake (or refuse the update). Uploading new, date-stamped objects first and then repointing the profile makes the change one atomic swap. Rolling back is just pointing the profile at yesterday’s objects.
4.1 Play and variables
---
#------------------------------------------------------------------------------
#---- Deploy Let's Encrypt certificates to F5 BIG-IP from the cert-store repo
#------------------------------------------------------------------------------
- name: Deploy certificates to BIG-IP
  hosts: loadbalancers
  connection: local
  gather_facts: false

  vars:
    files_loc: ~/cert-store
    stamp: "{{ lookup('pipe', 'date +%Y%m%d') }}"
    provider:
      server: "{{ ansible_host }}"
      server_port: "{{ f5_server_port | default(443) }}"
      user: "{{ f5_username }}"
      password: "{{ f5_password }}"
      validate_certs: false      # set true once the F5's own mgmt cert is trusted
      no_f5_teem: true           # don't send usage telemetry to F5

  tasks:
- stamp: today’s date, appended to every object name (for example
www.example.com_20261102). - provider: connection details for the F5 REST API. The username and password come from the credential we just created.
- no_f5_teem: turns off the modules’ anonymous telemetry. Leave it on if you want, but I’d rather opt in than opt out.
4.2 Clone the cert-store repository
    - name: Clone the cert-store repository
      ansible.builtin.git:
        repo: "https://{{ gitlab_username | urlencode }}:{{ gitlab_password | urlencode }}@gitlab.com/{{ gitlab_username }}/{{ gitlab_project }}.git"
        dest: "{{ files_loc }}"
        version: main
      delegate_to: localhost
      run_once: true
      no_log: true
This replaces the git clone shell task from Part 2.1. The ansible.builtin.git module is idempotent, and no_log: true keeps your GitLab token out of the job output. That URL embeds the token, so without no_log anyone who can read the job log can read your token.
4.3 Build the certificate list
    - name: Build the list of certificates to deploy
      ansible.builtin.set_fact:
        certlist: "{{ certs | default(lookup('file', files_loc + '/cert_list.txt').splitlines() | select | list) }}"
      run_once: true

    - name: Show what we're about to deploy
      ansible.builtin.debug:
        var: certlist
      run_once: true
If someone passes certs as an extra var (a survey, or the renewal workflow in Part 3), only those certificates get deployed. Otherwise it deploys everything in cert_list.txt. The select filter drops blank lines, which saves you from a very confusing error the first time someone adds a trailing newline to the file.
4.4 Upload the certificate, key and chain
    - name: Upload certificate
      f5networks.f5_modules.bigip_ssl_certificate:
        provider: "{{ provider }}"
        name: "{{ item }}_{{ stamp }}"
        content: "{{ lookup('file', files_loc + '/' + item + '/' + item + '.crt') }}"
        state: present
      loop: "{{ certlist }}"

    - name: Upload intermediate chain
      f5networks.f5_modules.bigip_ssl_certificate:
        provider: "{{ provider }}"
        name: "{{ item }}_{{ stamp }}_chain"
        content: "{{ lookup('file', files_loc + '/' + item + '/' + item + '-intermediate.crt') }}"
        state: present
      loop: "{{ certlist }}"

    - name: Upload private key
      f5networks.f5_modules.bigip_ssl_key:
        provider: "{{ provider }}"
        name: "{{ item }}_{{ stamp }}"
        content: "{{ lookup('file', files_loc + '/' + item + '/' + item + '.key') }}"
        state: present
      loop: "{{ certlist }}"
      no_log: true
no_log on the key upload keeps the private key out of the job output. Don’t skip that one.
4.5 Create or update the client SSL profile
    - name: Point the client SSL profile at the new cert, key and chain
      f5networks.f5_modules.bigip_profile_client_ssl:
        provider: "{{ provider }}"
        name: "clientssl_{{ item }}"
        partition: "{{ f5_partition | default('Common') }}"
        parent: clientssl
        cert_key_chain:
          - cert: "{{ item }}_{{ stamp }}"
            key: "{{ item }}_{{ stamp }}"
            chain: "{{ item }}_{{ stamp }}_chain"
        state: present
      loop: "{{ certlist }}"
The first run creates clientssl_www.example.com. Every run after that just repoints the existing profile at the newest objects. Any virtual server already using the profile picks up the new certificate on new connections, with no changes to the virtual server itself.
4.6 Attach the profile to a virtual server (first time only)
If the virtual server doesn’t use the profile yet, attach it once:
    - name: Attach the client SSL profile to the virtual server
      f5networks.f5_modules.bigip_virtual_server:
        provider: "{{ provider }}"
        name: "vs_{{ item }}_443"
        profiles:
          - name: "clientssl_{{ item }}"
            context: client-side
          - http
      loop: "{{ certlist }}"
      when: attach_profiles | default(false) | bool
I gate this behind attach_profiles because the profiles list on a virtual server replaces what’s there. If your virtual servers have other profiles (OneConnect, compression, a server-side SSL profile), list them all here or you’ll remove them. That’s the kind of mistake you only make once.
4.7 Verify
Don’t trust the green checkmark. Ask the VIP what certificate it’s actually serving:
    - name: Read the certificate the VIP is serving
      community.crypto.get_certificate:
        host: "{{ item }}"
        port: 443
      loop: "{{ certlist }}"
      register: served
      delegate_to: localhost

    - name: Read the certificate we meant to deploy
      community.crypto.x509_certificate_info:
        path: "{{ files_loc }}/{{ item }}/{{ item }}.crt"
      loop: "{{ certlist }}"
      register: intended
      delegate_to: localhost

    - name: Make sure they match
      ansible.builtin.assert:
        that: item.0.serial_number == item.1.serial_number
        fail_msg: "{{ item.0.item }} is still serving serial {{ item.0.serial_number }}"
        success_msg: "{{ item.0.item }} serving the new certificate, expires {{ item.0.not_after }}"
      loop: "{{ served.results | zip(intended.results) | list }}"
      loop_control:
        label: "{{ item.0.item }}"
This is the same intent vs. state idea: the repo is what we meant, the VIP is what’s true, and the job only passes when they agree.
5. Run It from AWX/AAP
- Project: create a project pointing at the playbook repository and sync it. AWX/AAP installs the collections from
requirements.yml. - Job template:
- Inventory: the inventory with your F5
- Playbook:
deploy_f5.yml - Credentials:
gitLab - cert-storeand your F5 BIG-IP credential - Variables (optional): check Prompt on launch so a survey or workflow can pass
certsandattach_profiles
- Launch it. On the first run, set
attach_profiles: trueif the virtual servers don’t have the profile yet.
6. Cleaning Up Old Objects
Versioned names mean old certificates and keys pile up on the F5. They don’t hurt anything, but after a year of 60-day renewals you’ll have a lot of them. Once the new certificate is verified, it’s safe to delete anything for that host that’s older than the previous version. Keep one prior version for rollback. In Part 3 we’ll add that cleanup as its own step in the renewal workflow.
Conclusion
You now have Let’s Encrypt certificates flowing from Git to F5 BIG-IP with no secrets in the playbook, no downtime on renewal, and a verification step that checks what the VIP actually serves. Together with Part 2.1, both of the devices that terminate TLS for you are covered.
Next Steps
Related doodles
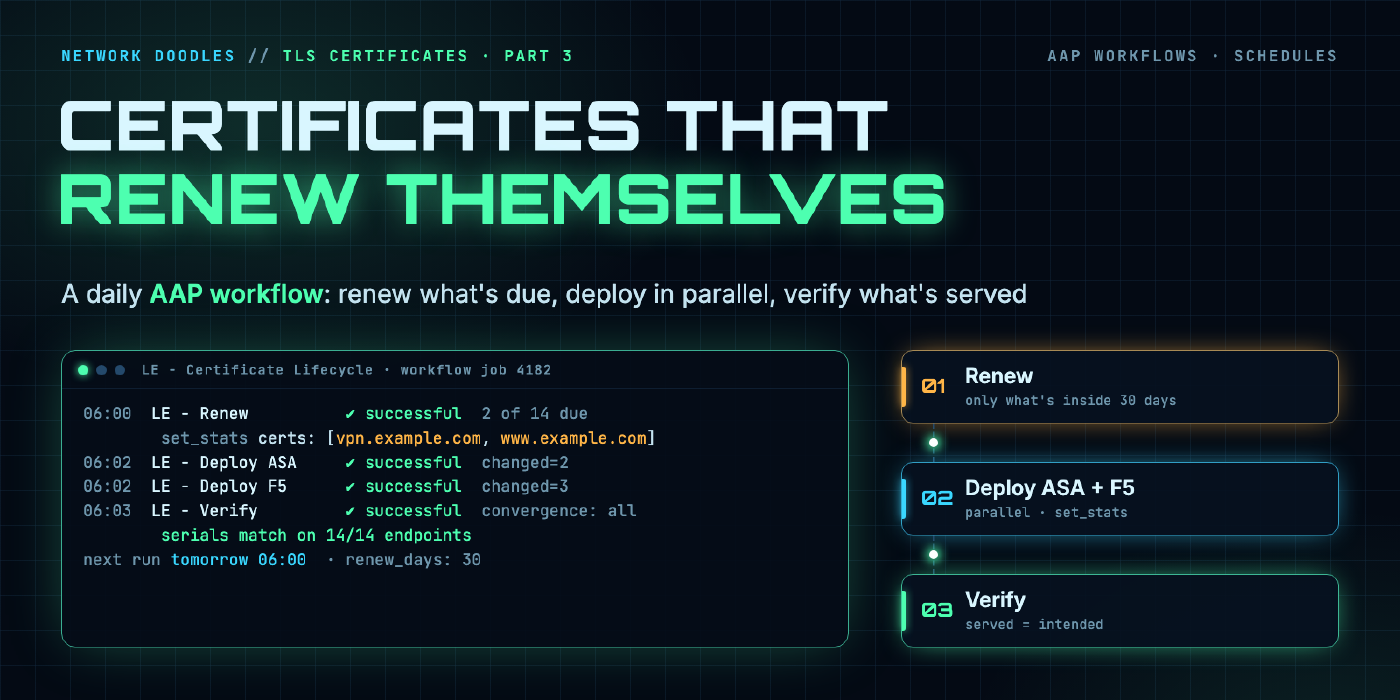
Managing TLS Certificates Using Ansible and Let’s Encrypt! PART 3:
Turn the request, deploy and verify playbooks from Parts 1 through 2.2 into a scheduled AWX/AAP workflow that checks every certificate daily, renews …
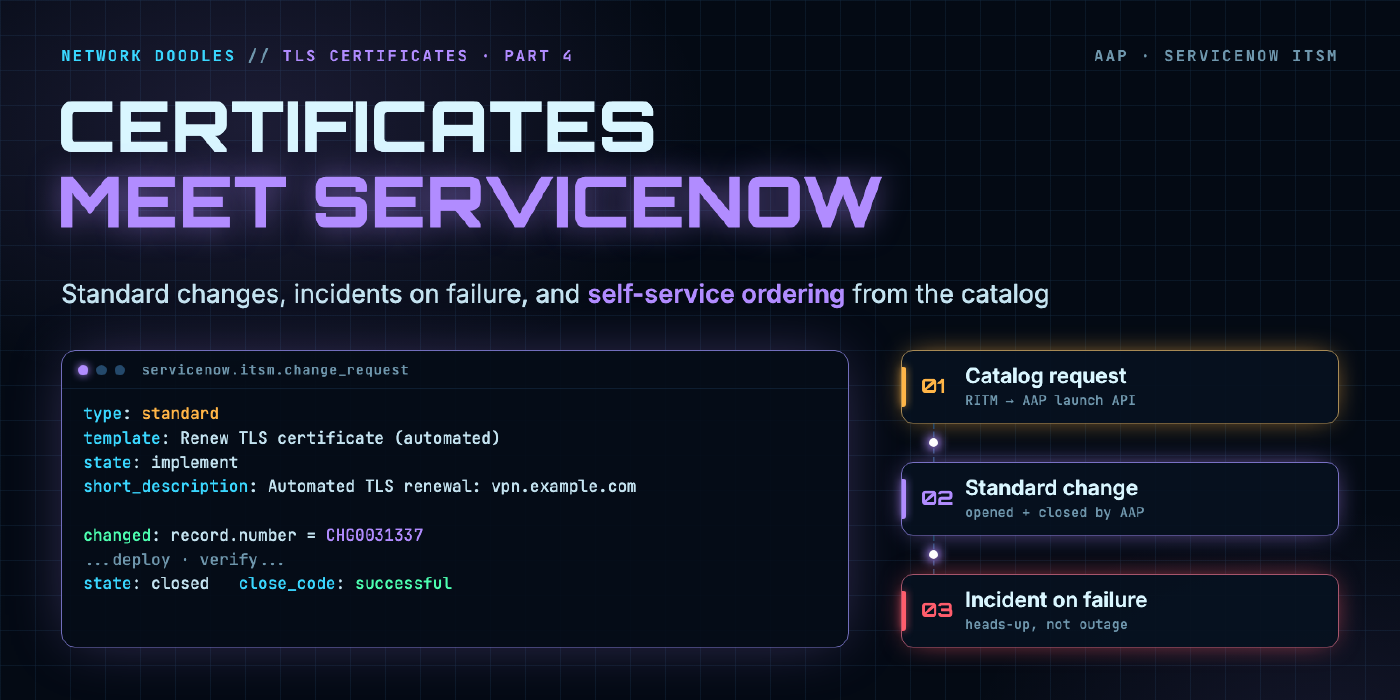
Managing TLS Certificates Using Ansible and Let’s Encrypt! PART 4:
Close the loop with ServiceNow: the AAP renewal workflow opens and closes its own standard change, raises an incident when verification fails, and new …
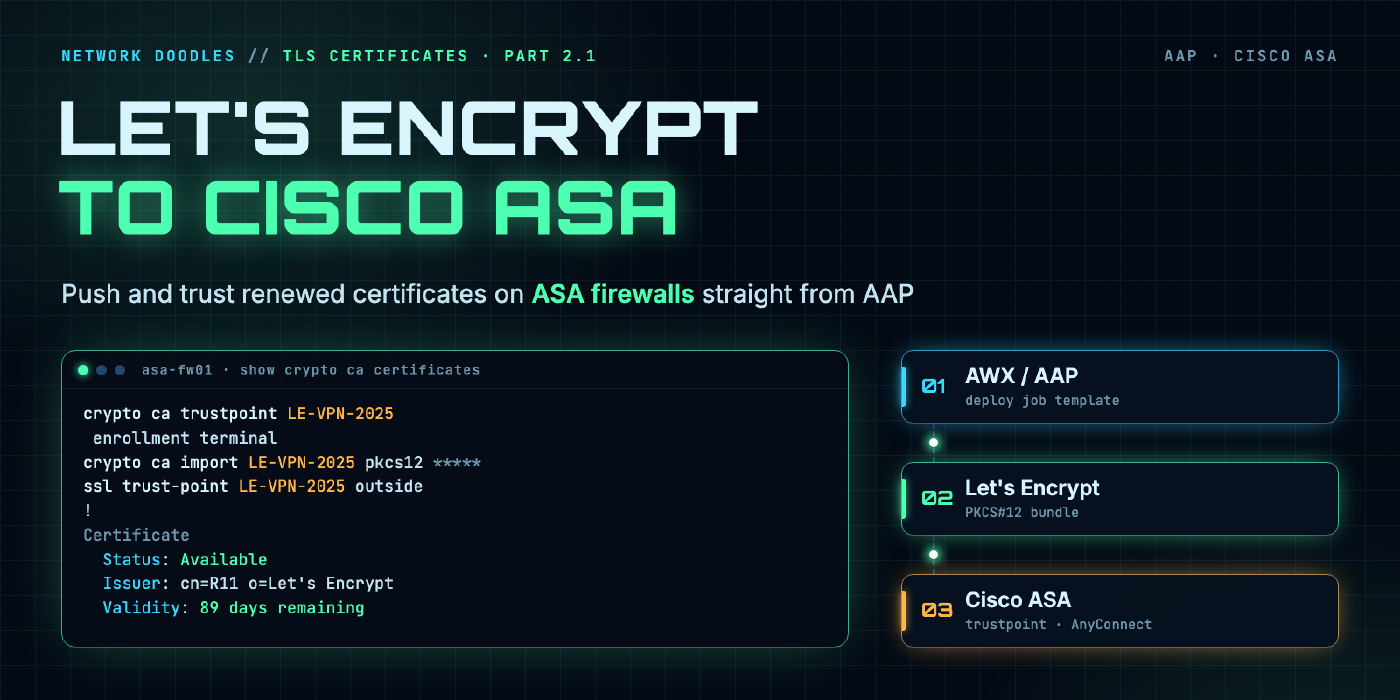
Managing TLS Certificates Using Ansible and Let’s Encrypt! PART 2.1:
In this post, we’ll demonstrate how to automate the deployment of Let's Encrypt certificates to Cisco ASA firewalls using Ansible, specifically within …